Macrame Planter How To - The Easiest Ever
What’s this? What’s this? A DIY macrame plant hanger tutorial that is so easy that even your kids could make it. With just a few supplies, you can make a sweet macrame plant hanger for yourself or gifts. You’re not sure how to make macrame? Don’t worry, I’ve got you covered.
Macrame is the craft of knotting cords in patterns to create decorative pieces. The most common form of macrame may be wall hangings, but you can also make jewelry, pot holders, plant hangers, and more.
Today's DIY plant hanger is easier than you think! I've put together this beginner DIY macrame plant hanger tutorial for you below so you can get started on your first project. I've also included a macrame VIDEO tutorial! If you would rather purchase this style of plant hanger made by me, you can do that here!

What You Need
This Macrame Planter How To is so easy, you're only going to need a few simple tools and materials! Grab a cup of coffee or tea and follow along.
What You Need to make this beginner macrame plant hanger:
Gather together the following supplies:
-
One ring (we love these classy hand-forged rings made by a Texas blacksmith, but this is another metal option. I don't recommend using wood because they can crack over time.)
-
10 m macrame cord, 4-6mm in thickness. I used 6mm.
-
Scissors
-
Garment rack or something to hang your plant hanger from
-
A small planter pot. I used a 6"
How To Make This Macrame Plant Hanger for Beginners
This is the easiest macrame plant hanger to make! I promise! This macrame planter can be made by beginners and it’s a great project for kids, too. Macrame is back in a BIG way. This macrame plant hanger pattern is super easy and looks amazing!
This easy macrame plant hanger doesn’t require any special knots or previous knowledge. The only knot you need to know is the overhand knot (and I'm 98% sure you have already tied this knot before without realizing the name of it).
Here are step-by-step plant hanger instructions, with pictures, followed by a video!
- Cut 4 pieces of cord 8ft long each.

- String the 4 cords through a ring, making sure the strings hang as evenly as possible on each side. It’s ok if it’s slightly off.


- Using all the cords, tie one overhand knot. Pull each cord individually to tighten if you want.

- Measure about 12” down from the knot.

- Take two cords that are naturally laying beside each other and tie an overhand knot.

- Take another two cords beside each other, and tie another overhand knot at the same distance down.

- Continue until you have made a row of 4 knots.

- The next row of knots will be about 5” down from the last row.
- Take just one cord from one knot, and another cord from another neighboring knot.
- Tie these two cords into an overhand knot, about 5” down from the knots above them.

- Make another row of knots, following the pattern of taking just one cord from one knot and one cord from another knot.
- You should have a row of 4 knots that have created an alternating netted pattern.
- Now we just have to tie one more large overhand knot with all the cords. Just like the first knot we did. I do mine about 3” down from the last row. But you can also put your pot into the plant hanger now to help you decide where you want your final knot to be.

- Finally, trim the bottom cords so that they are all even.

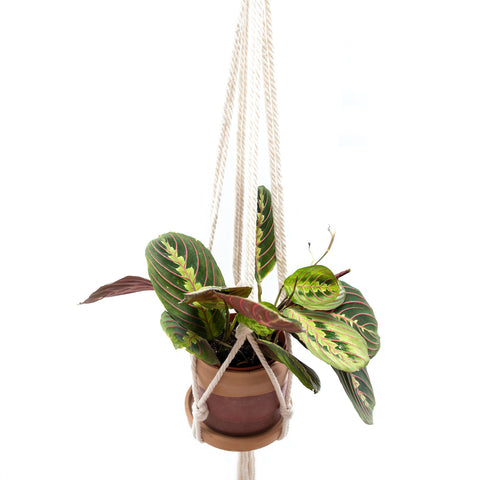
- Add your plant, faux plant, or stuffed animal plant to finish the look.

Here is a video of how to make the incredibly easy macrame plant hanger:
Tips To Remember With Your DIY Plant Hanger
You can make this as big or small as you want, some plants are bigger than others so you might need to adjust the length of your macrame.
-
The larger your pot, the more distance you will want in between the rows of knots.
-
You can also add a third or fourth row of knots if you want to hang a bottle instead. Bottles with propagated cuttings are lovely and easy.
-
Make sure your pot does fit into the macrame before you tie off the end.
If this is your first plant hanger, then you may wonder how to water your plant.
-
You can simply hang the plant pot (with a drainage hole) with a water tray and water the tray directly.
-
Alternatively, put you pot with a drainage hole into another pot or decorative bowl that doesn't have a drainage hole.
You don't have to hang a real plant in your hanger.
-
there are some amazing faux plants that you can pair in a pot and be done for keeps
-
I have an adorable croqueted cactus plant in my son's bedroom. I bought mine from a local small business maker I found at an artisan's market. Before that I had this adorable stuffed aloe in it.
There are many ways to hang your planter. Our favorite is from a sturdy certain rod with a decorative S hook or hung from a wall hook (screwed into a stud) near a bright window. You can also hang from the ceiling with an anchored ceiling hook.
Takeaway: Making your own macrame plant hanger is an easy craft project that you can enjoy.
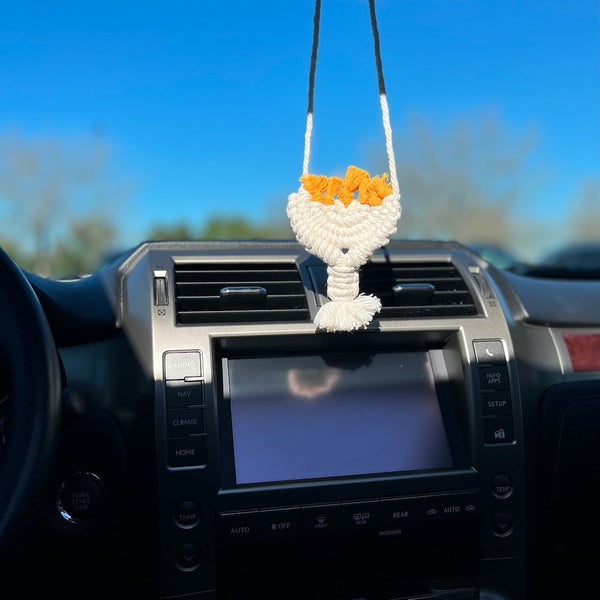
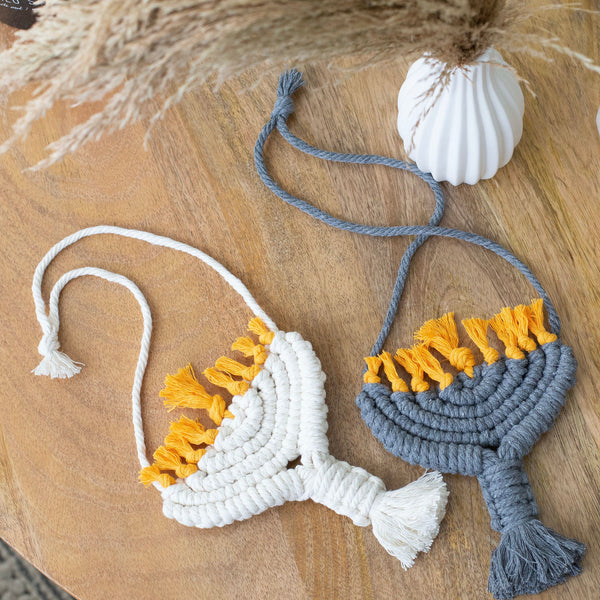
This beginner macrame plant hanger is a simple but stunning way to add some boho style to your home or garden. With the current trend of making your home a plant oasis, it's great how easy it is to make your own macrame plant hanger. But if you would rather get a few already made, we'd love to make them for you! We've named this particular style the Janae in our online shop.
I hope you like to make these for gifts and for yourself. I'd love to share more complex patterns once you master this general concept of a plant hanger! Don't forget to check out our online macrame supply shop! We'd love your support.
Are you ready to try a beginner-friendly wall hanging? Check out this DIY Dip Dye Macrame Wall Hanging tutorial!
4 comments
What a beautiful planter! Thank you for the detailed post!
I love this such an easy present to make even kids can do this… taking me back to afternoons spent with my Nonna making Macramé ‘Everything’ LOL
My husband made this for me. I love it! So cute and easy.
I absolutely love the style of this macrame hanging planter and really appreciate the step by step process! Thank you for sharing this!